This in-depth guide will help you on installing XAMPP on Windows to begin your PHP development and deployment on the local machine quickly. There will be tutorials for both installation types, full & portable installation.
Note: XAMPP is meant for local development and local deployment only, therefore not for production as many default XAMPP configurations are unoptimized and might cause performance issues as well as security issues for a production site. We will have future articles on how to configure XAMPP for better running in a production environment. Stay tuned!
Tutorial StartsInstall and configure XAMPP on Windows
Prerequisites
- XAMPP requires at least from Windows 2008 to run.
- Visual C++ Redistributable required. You can download and install it on the official download page:
Visual Studio Tools download page > Other Tools, Frameworks, and Redistributables > Microsoft Visual C++ Redistributable for Visual Studio 2022.
Download XAMPP on Windows
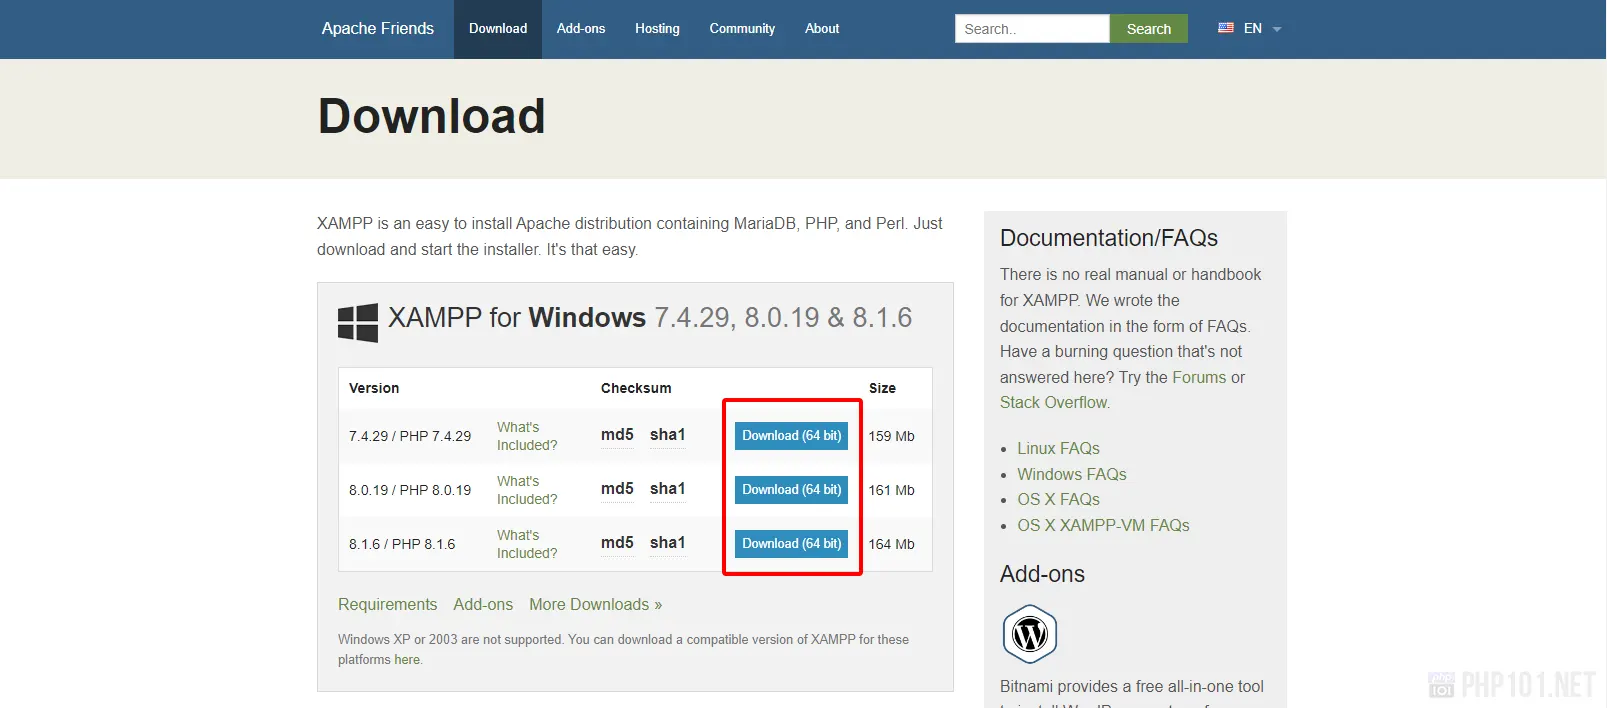
First, we will have to download XAMPP with the PHP version we wanted. Navigate to official XAMPP download website:
Option 1: Latest stable PHP versions
On the download page, pick a XAMPP for Windows with the PHP version you wanted. Normally, the listed versions here are the most latest, stable versions that XAMPP has them bundled. Of course, we can change the PHP version later, so this is the default recommended option.
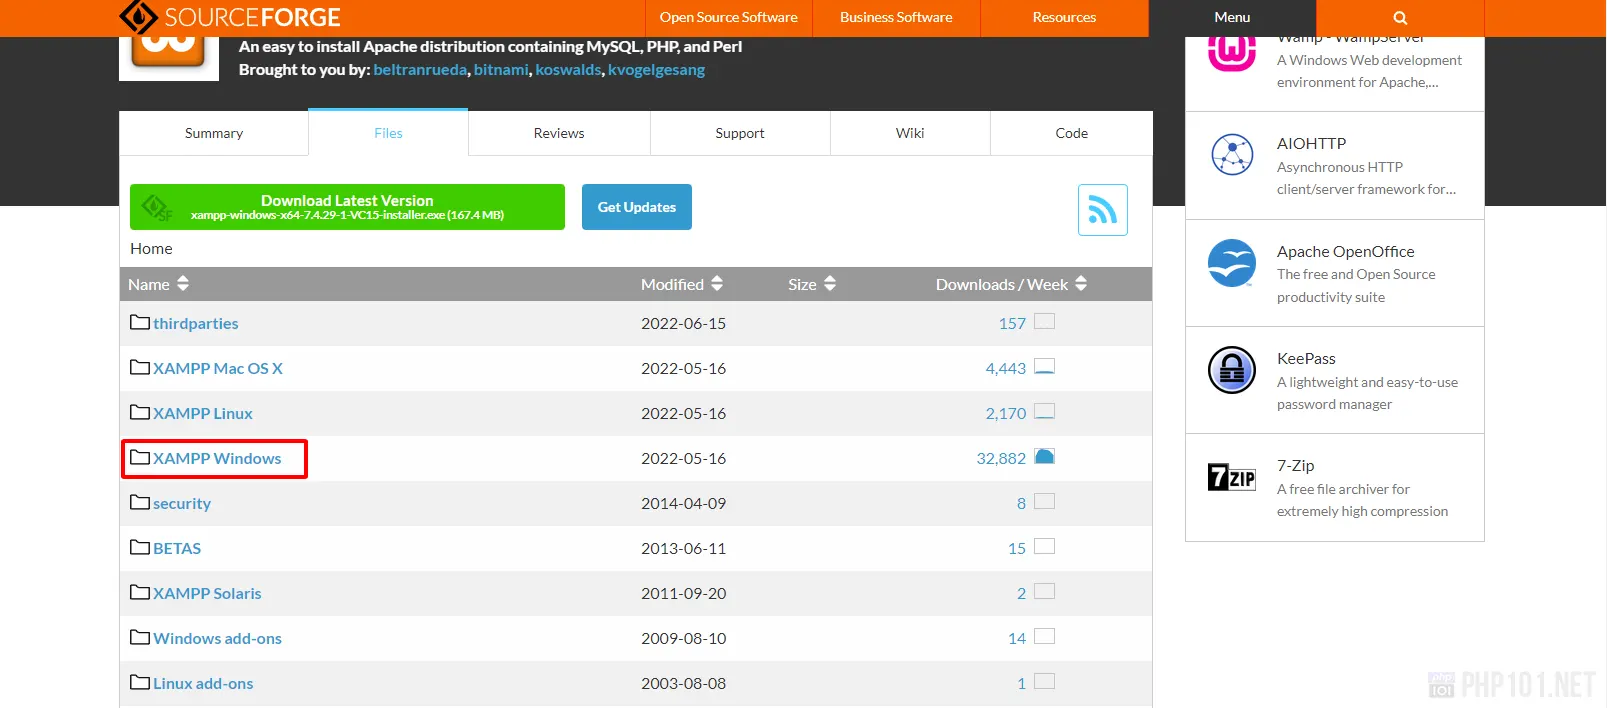
Option 2: Other PHP versions
If you want to download a custom XAMPP bundle with another PHP version of your choice, click the More Downloads link, which will take you to browse all XAMPP versions and add-ons.
On the next page, click XAMPP Windows:
On the XAMPP Windows version browsing page, pick a PHP version that you want to have XAMPP bundled with.

For example, the version we picked is PHP 8.1.2. You will see a couple of download types:
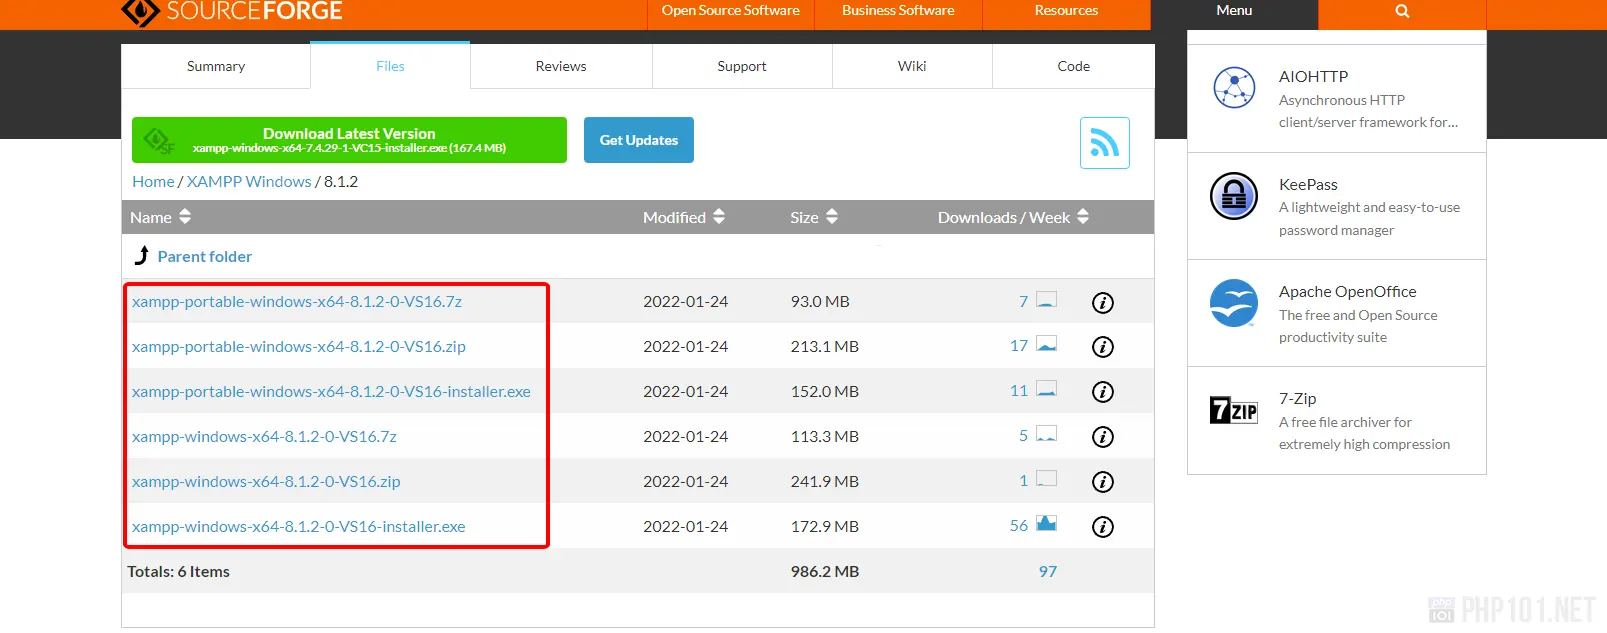
Choose a version based on your preferences:
- Recommended: For the full installation, download the normal installer’s
.exeversion (withoutportable), which the software will automatically configure everything for you.
In this example, the recommended file isxampp-windows-x64-8.1.2-0-VS16-installer.exe. - For the portable version, choose the installer with
xampp-portable-windowsin name. It can be either in.zipor.exefile type depends on your choice.
After downloading the XAMPP installation, we can start install on Windows based on the version type.
Install XAMPP on Windows – Full installation
Run the installation .exe file, click Next on the first panel. On the next panel, choose the components you wanted to install with XAMPP. Normally, these are our recommendation for a good basic PHP development with XAMPP on Windows:
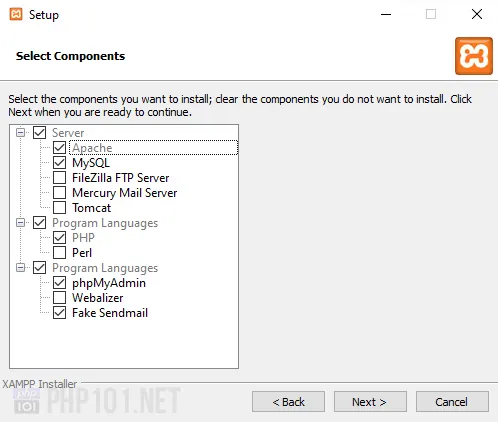
Overall, the basic recommended components contain:
- Apache (required by default) for the web server
- MySQL (recommended) for the database server
- PHP (required) for our PHP development
- phpMyAdmin for easy database interaction
- Fake Sendmail to catch mails sent by general PHP development tasks
Extra components you can consider to install include FileZilla FTP Server, Mercury Mail Server for FTP & Mail server, Tomcat for a Java HTTP server, and Webalizer for analytics.
With basic PHP development, these can be left out and can be installed later. Overall, XAMPP on Windows is meant for only PHP development, not for production, so let’s only keep the basic recommended components installed.
After picking the components, click Next and choose the installation directory. It is highly recommended to install on other drives than the system drive (C drive).

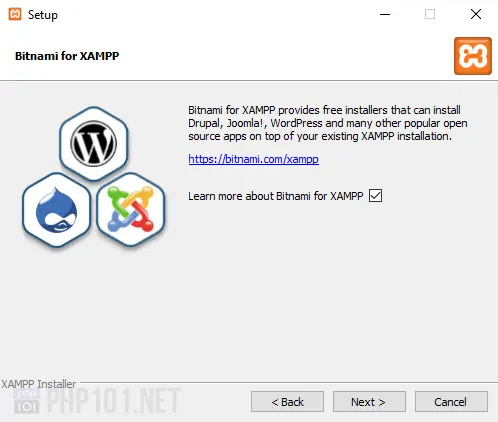
Pick the language on the next panel, and on the Bitnami for XAMPP option, it’s a handy tool to quickly install popular PHP platforms as WordPress, Joomla, etc. to your XAMPP installation. Upon clicking Next, XAMPP will be installed on your Windows computer.
After finished the installation, you can choose to start the XAMPP Control Panel. Let’s do it.
Launching XAMPP webserver
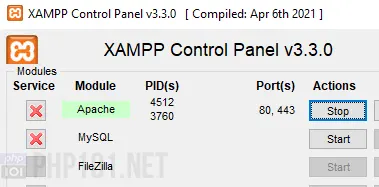
On the XAMPP Control panel, click Start on the Apache module row, which will start the Apache Webserver.

On the first run, Windows Firewall will ask for your permission to allow network access to XAMPP’s Apache Webserver. Normally it’s safe to do so in Private networks, which is only accessible on your trusted networks.

If you see this, Apache webserver is successfully started.
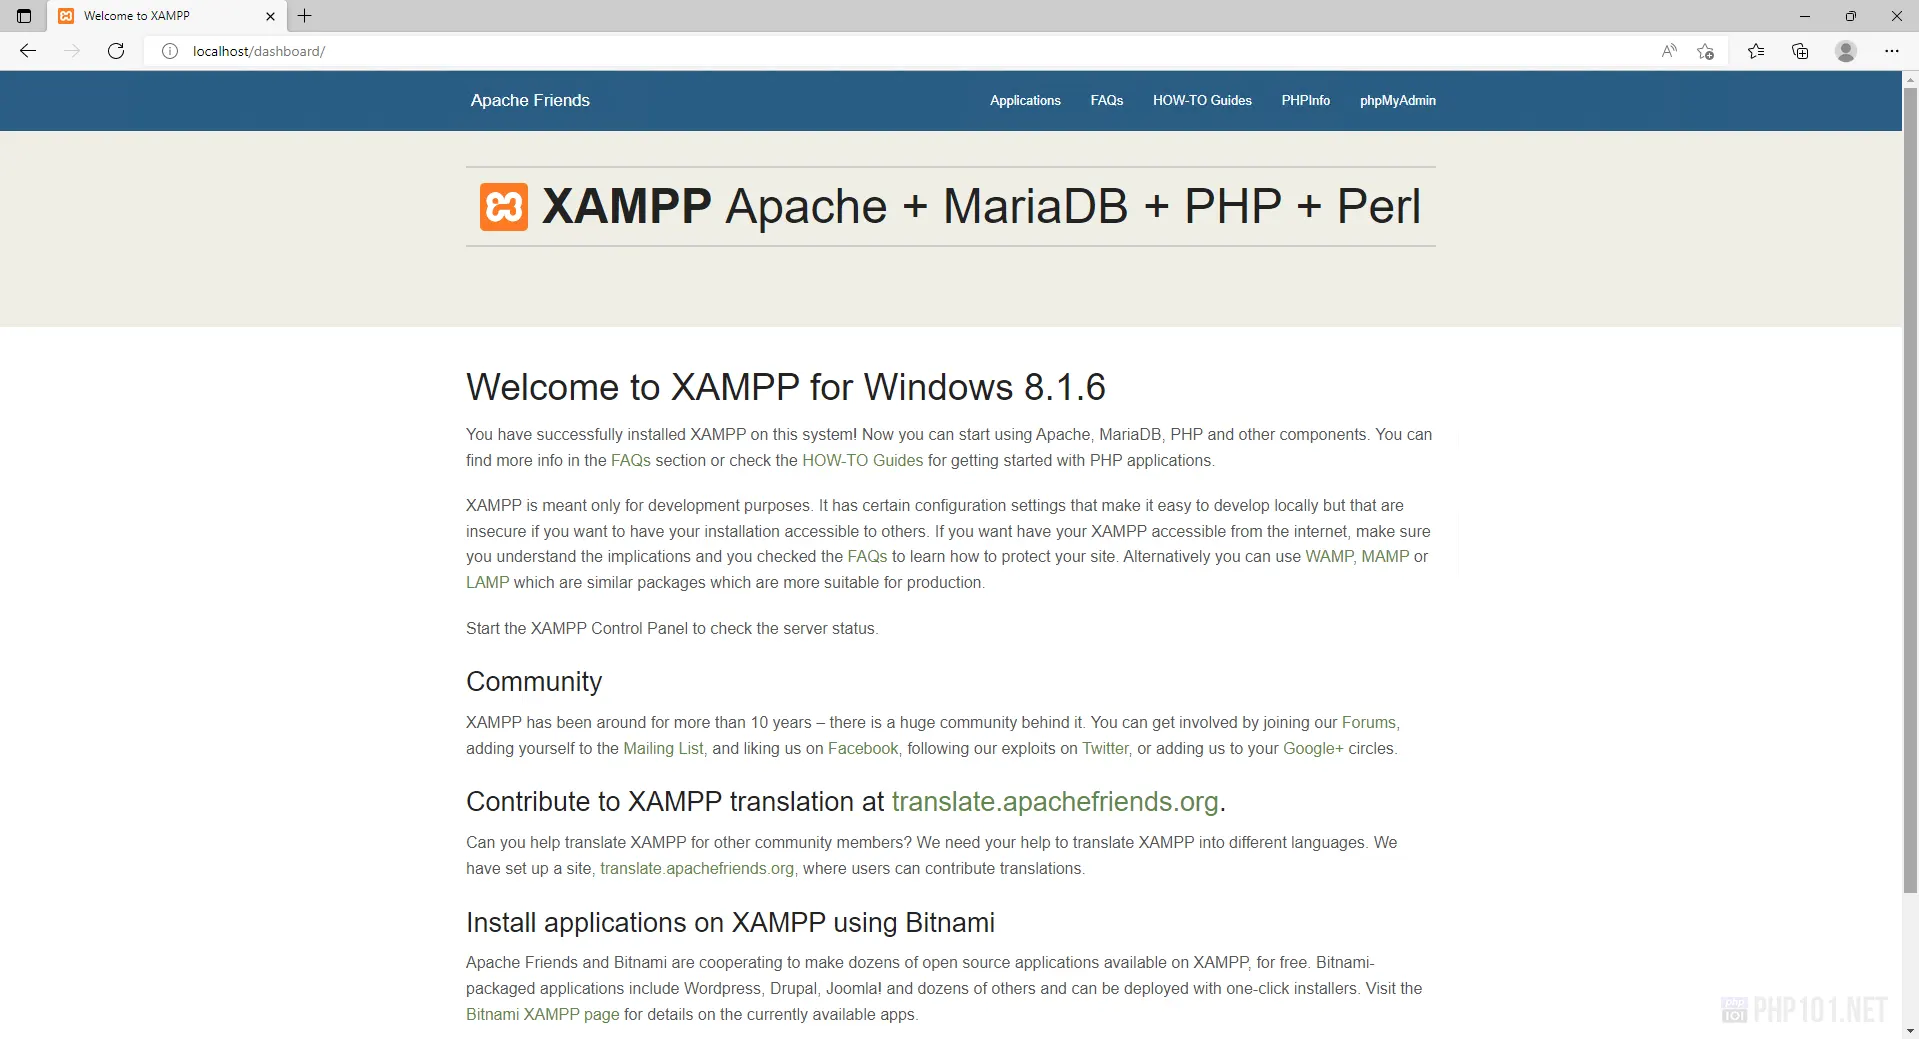
Go to the web browser, navigate to http://localhost, if you see this page, XAMPP is successfully installed with Apache running as a web server.
Install XAMPP on Windows – Portable version
For XAMPP on Windows portable installation, the process is a little bit different as we don’t have to run the installation package.
Download the XAMPP portable version
Follow the same download tutorial as with the installation version, but choose the file with xampp-portable in name.
Extract the downloaded XAMPP portable version
Extract the downloaded zip package into a directory you want to run XAMPP. You might have to rename or move the extracted directory name for it to be shorter.
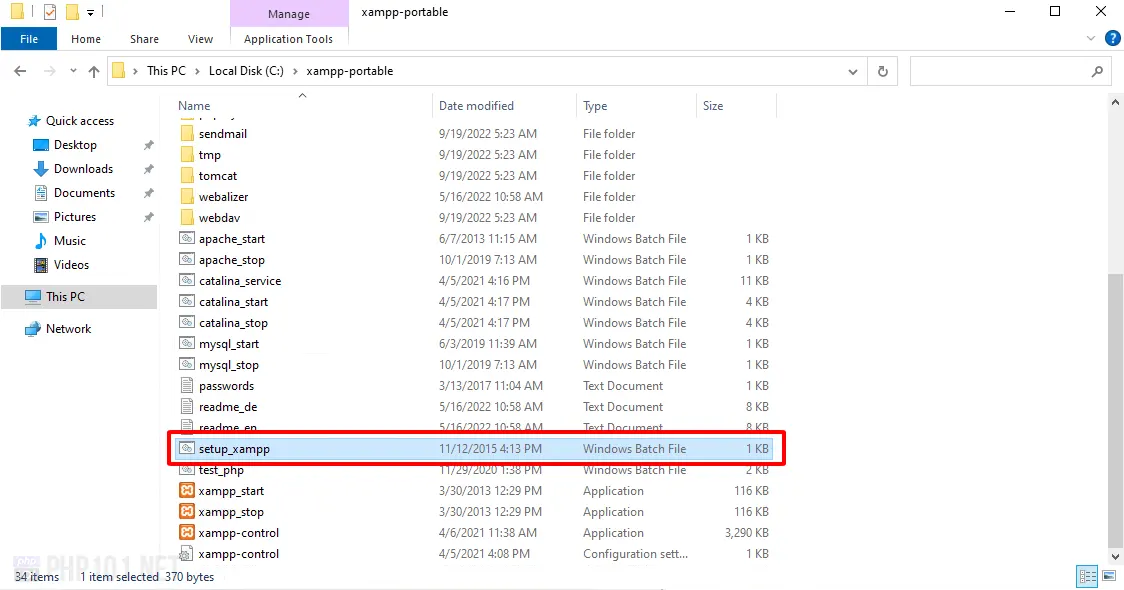
Run the setup_xampp.bat file
Next, run the file setup_xampp.bat and it will automatically register and configure the paths for your XAMPP portable installation.
*Make sure Visual C++ Redistributable is installed first, or else you will see an error displayed here.
setup_xampp.bat file to auto-configure your XAMPP portable installationIf this window displays, your XAMPP portable has been successfully installed and configured.
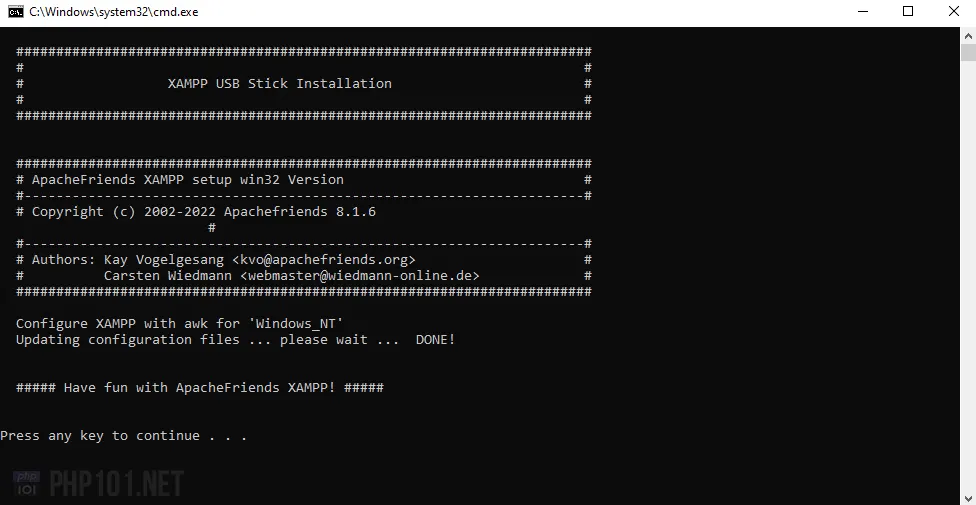
Again, you can start using XAMPP by running the xampp-control.exe file, similar to the Full installation method.
How to start PHP development in XAMPP
You can start your PHP development right away by editing the files in XAMPP by navigating to the folder [XAMPP installation folder]\htdocs, which contains all of the files for the webserver served by XAMPP.

Making XAMPP installation available on Internet
As we have noted, it is not recommended to use XAMPP other than local machine development. However, in case you still want it to be publicly visible on the internet for development purposes, or you might have correctly configured it, here is the guide.
The main point here is to create a Windows Firewall rule to allow XAMPP to be able to communicate with your Internet connection. By default, XAMPP might try to create the rules automatically for you (when you see the Windows Security Alert dialog), however, there might be times it doesn’t, and this is the solution.
Note: You might also have to configure your other firewall or antivirus programs to allow the ports created by XAMPP, and port-forwarding will be necessary too, we won’t go into details here and will try to make articles on this topic later.
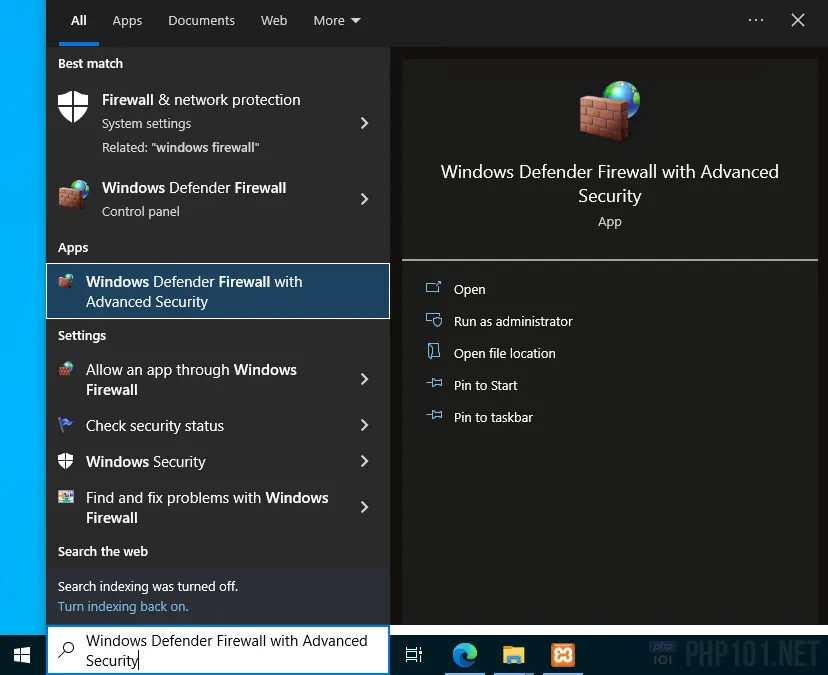
First, open Windows Defender Firewall:
Right-click Inbound Rules > New Rule…

Choose Program on the first dialog if you want XAMPP to have full control over the ports (recommended by default). Otherwise, if you only want some ports to be allowed, choose Port.
If you choose Program:
- Pick the
httpd.exefile in[XAMPP installation]\apache\bin\folder: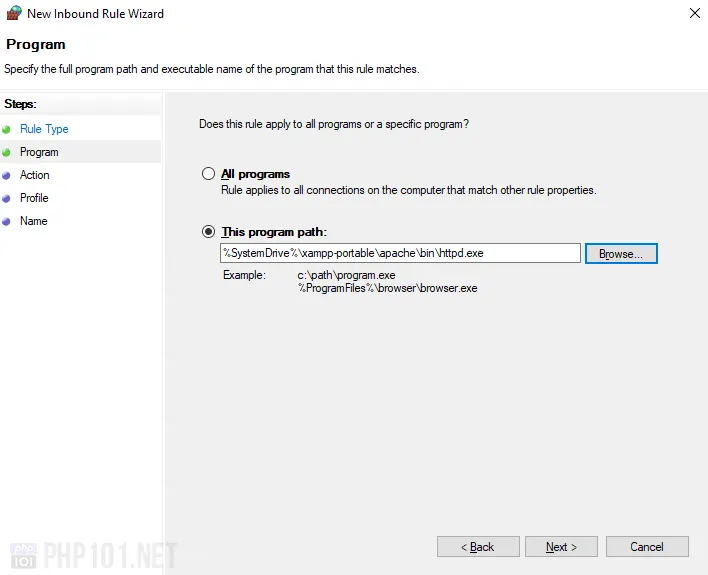
Choose XAMPP Apache httpd.exe file to allow - On the next Action step, choose Allow the connection.
- On the Profile step, choose the network you want to apply the rule to.
- Give it a name in the final Name step, eg.
HTTP Server.
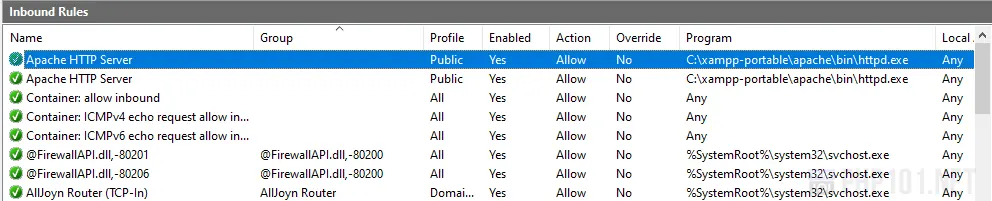
After finished, we will have the rule created. Below is the default rule created by XAMPP:
If you choose Port instead of Program, the process is not much different, on the Protocol and Ports step, you can pick TCP and enter 80 into Specific local ports (default recommended HTTP port), or other ports of your choice.
Change XAMPP installation PHP version
We have a detailed guide on how to change your PHP version of the XAMPP installation:
- How to change XAMPP PHP version on WindowsIn-depth tutorial on how to replace XAMPP PHP version on Windows.
The tutorial is now over. We hope you can get XAMPP on Windows installed quickly to start your PHP development. We look forward to releasing many other helpful tutorials for PHP development on Windows systems.
Other tutorials you might like
